
Home/Rug photo guide
How to photograph a rug for product photos
Every result starts from one photo. It does not need a studio: a phone, a clear floor and five minutes. These five steps make the difference.
Take the one photo we need
- 01
Lay the rug flat
Clear the floor, open the rug fully and smooth out folds and rolled corners.
- 02
Get the whole rug in
All four edges and the fringe inside the photo, with a little floor around them. A cropped rug cannot be shown whole.
- 03
Shoot from above
Stand at one end on a chair or a step, hold the phone level and point it down. The flatter the view, the truer the shape.
- 04
Use even light
Daylight from a window or the room lights on, without hard shadows or a bright patch across the rug.
- 05
Add the size
Enter the real size with the photo, standard or exact. It keeps the rug at its true scale in every room.
Good, may work, needs another photo
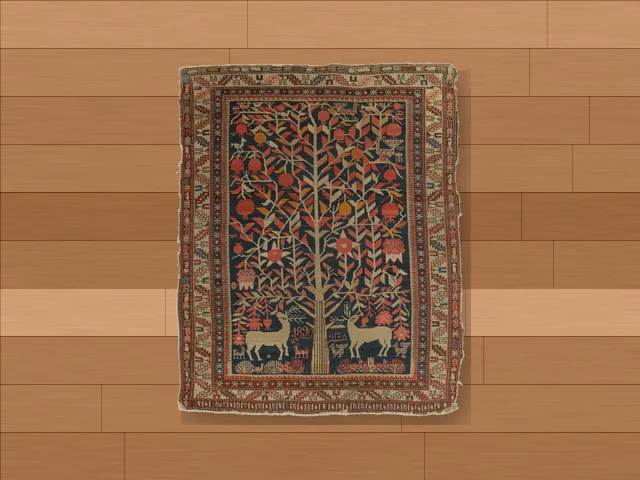
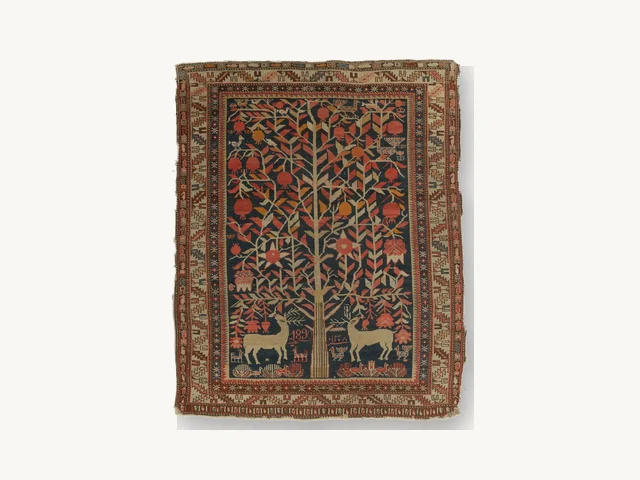
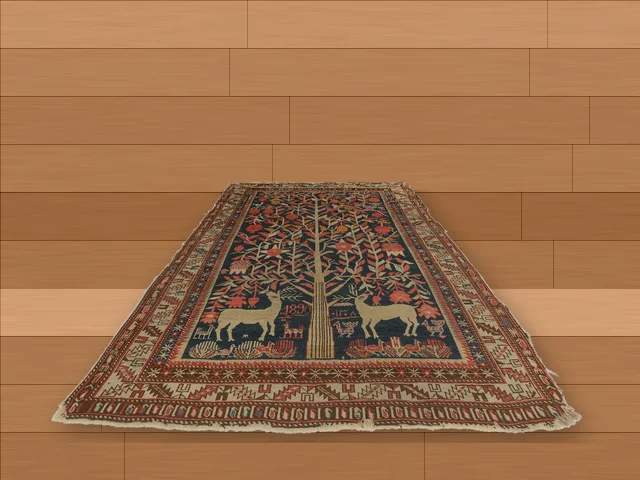
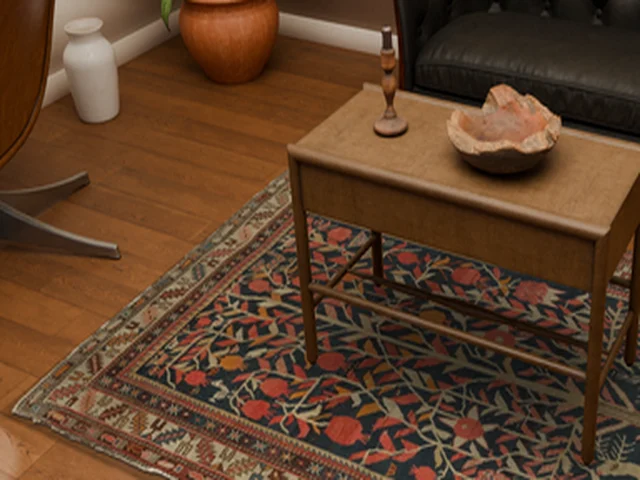
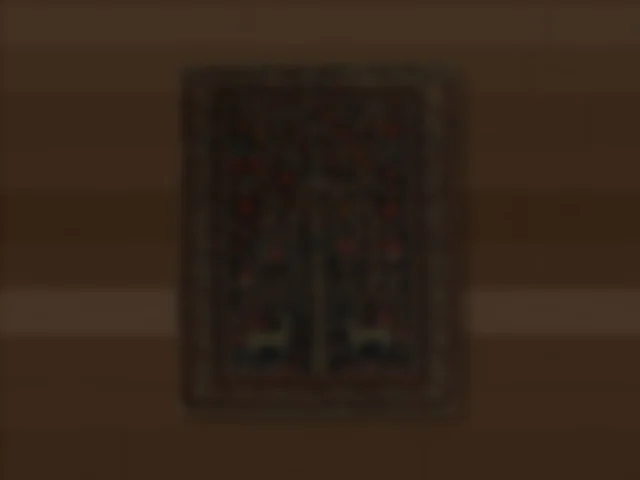
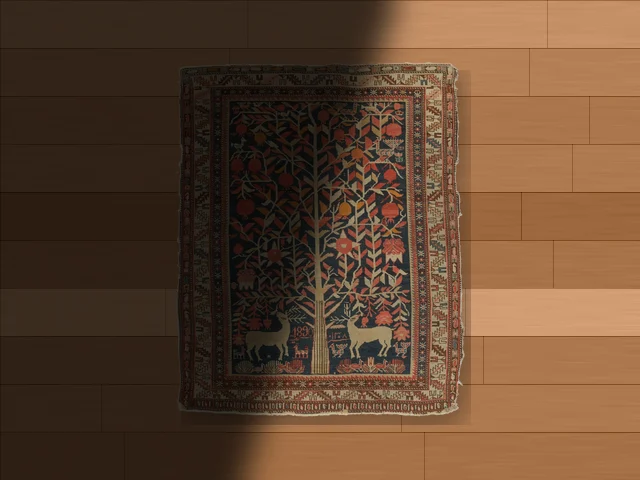
Every upload is checked before anything is charged. The same rug, photographed three ways:
Good to upload
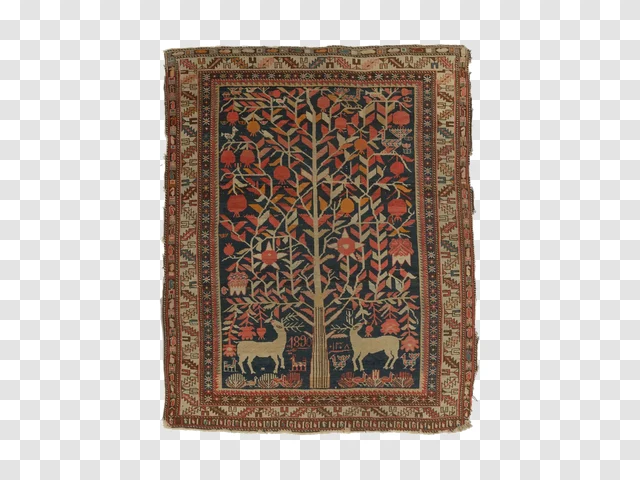
May work, better if fixed
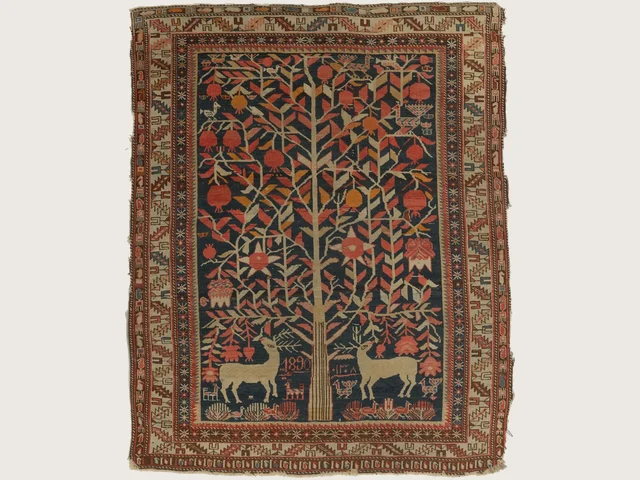
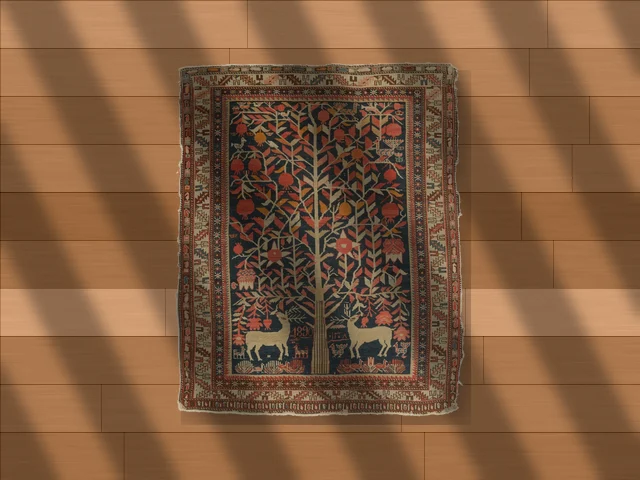
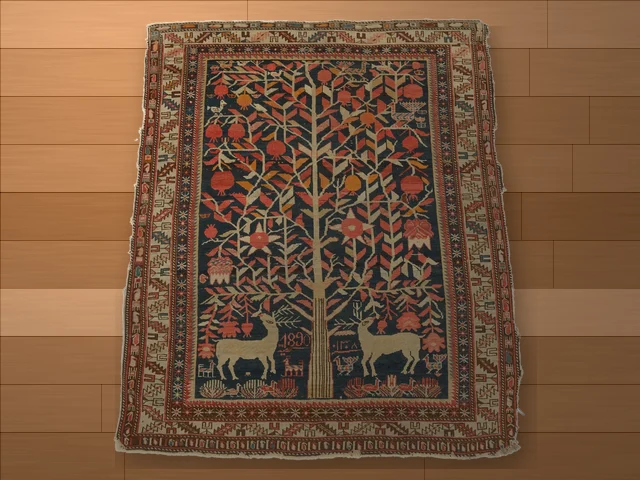
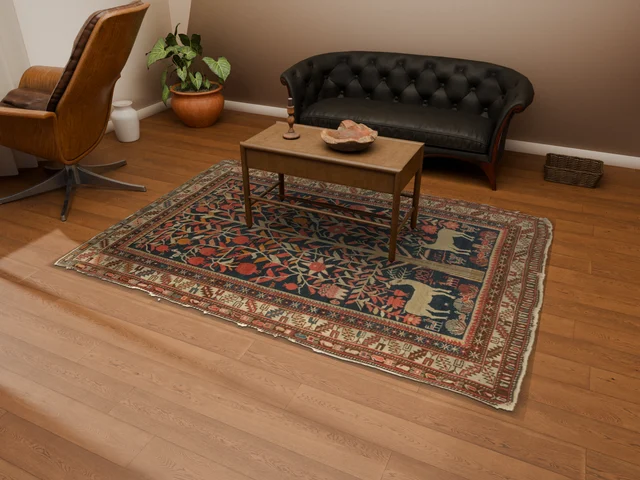
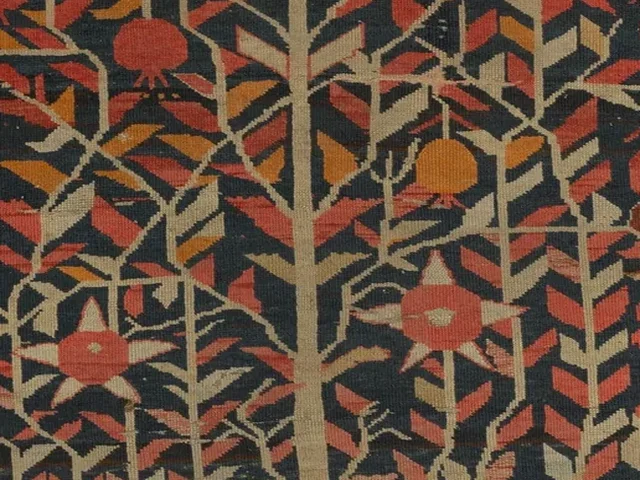
Needs another photo
Rug photos, answered
Can I use a photo from my website?
Yes, if it shows the whole rug with its edges. A larger photo gives a sharper result, and the check tells you before anything is charged if it is too small.
The rug is too big to photograph from above. What now?
Shoot from the highest point you can along the length of the rug and keep all four corners in view. A moderate angle is straightened; a very steep one needs another photo.
Do I need a white background?
No. A plain floor works well; white or a cut-out on a transparent background works too.
Is the photo checked before I pay?
Yes. Every upload is checked first, and a photo that cannot make the shots is refused before anything is charged.
Start with the rug you sell most
Upload one photo of the whole rug, choose your shots, then download or publish. A shot that cannot be made is held back and not charged.