
Vintage rug condition photos: a seller checklist
Use this vintage rug condition photo checklist to record wear, edges, repairs and labels clearly before you publish an online listing.
Drafted with AI assistance from Larina's own guides and the sources listed, then checked by automatic quality rules.
This article is available in English only.
Ask an AI assistant about this article
Open ChatGPTOpen PerplexityOpen ClaudeOpen CopilotOpen Gemini
These links only open the service. Some may fill the request in; if the box is empty, paste it.
Quick answer
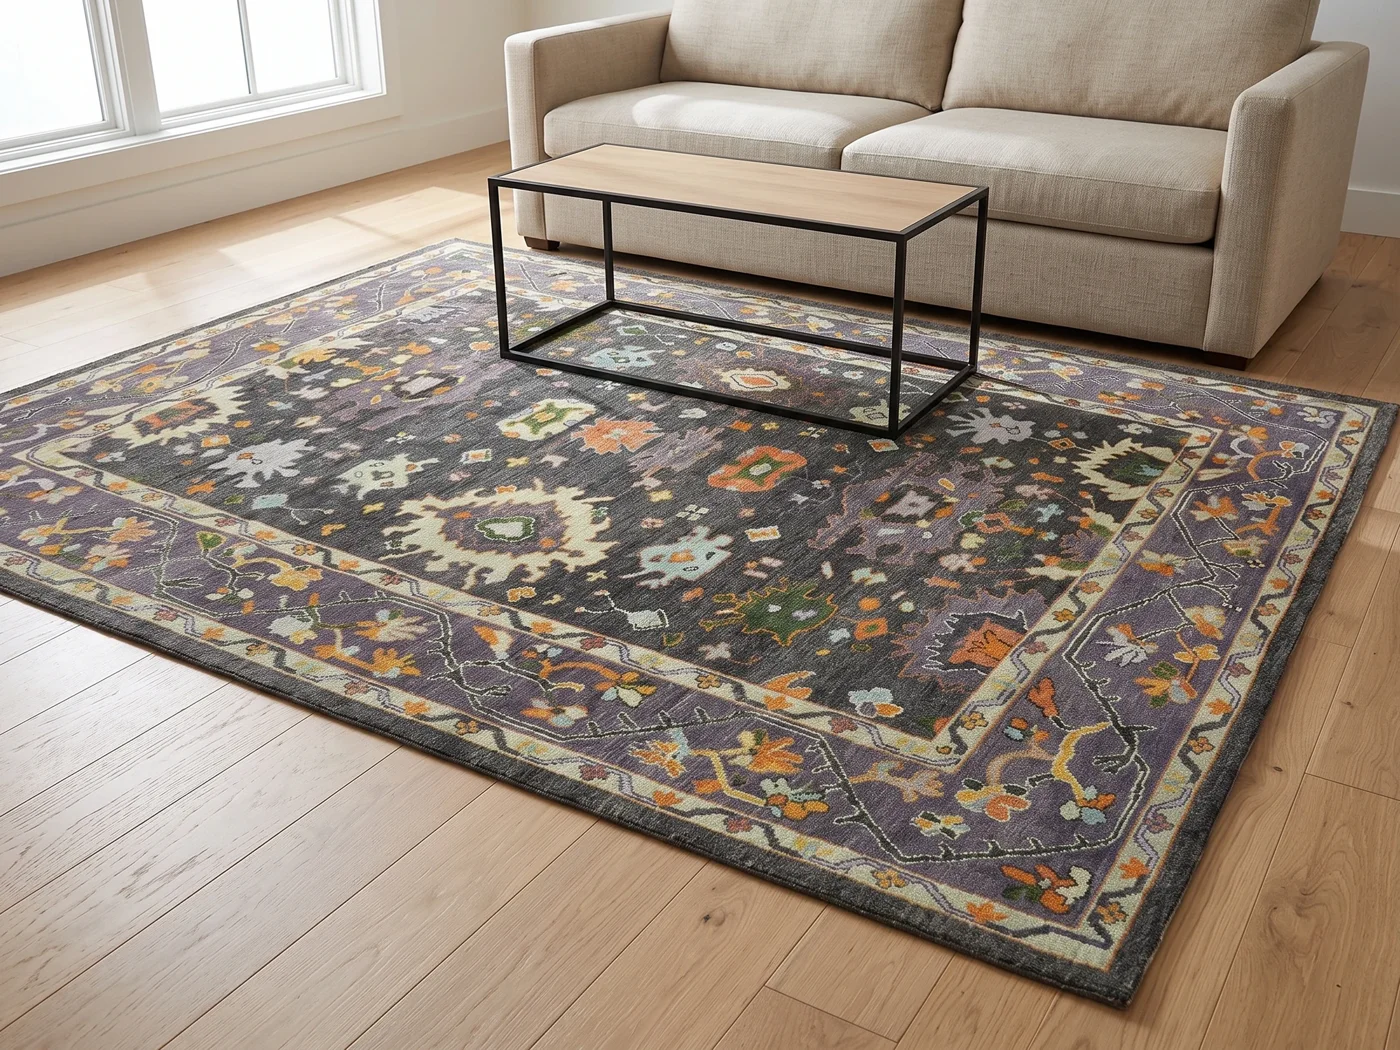
A vintage rug condition photo checklist is a short list of shots you take of the real rug before you publish. Cover the whole rug, both ends, and every mark, worn area or repair, close up and in context. Name each file after the SKU, and make sure each description matches what the image shows.
Why does a vintage rug need a condition photo checklist?
A checklist turns "I think I photographed everything" into something you can check off.
Vintage rugs rarely look new. Wear, small marks and old repairs are part of their history. An online listing should show that condition clearly, because the buyer cannot inspect the rug in person.
A checklist helps in three ways. It keeps you consistent from one rug to the next. It stops you skipping the awkward corner. And it gives you a record to compare against the description.
It also saves time. When the same shots are taken in the same order every time, you spend less effort deciding what to do next, and a gap in the set is easy to spot. A second person can pick up your notes and carry on without asking you questions.
This guide covers the shots to take, how to name and match them, and how to decide which image goes where in a listing. It does not cover cleaning, repair or valuation. For those, ask a qualified specialist. The aim here is narrow: help buyers inspect existing condition before purchase, without any digital hiding of wear.
For more on this topic, see our article: How to photograph a rug for product photos.
The AIC Textile Specialty Group photographic documentation guidance calls for overall front and back views and details of damage [3].
This textile documentation guidance is not a certification of a rug, a treatment recommendation or proof that our illustrative photographs show a real defect.
How do you start with an honest condition record?
Start by tying every photo to one exact rug, and keep real inspection photos apart from styled images.
Before you shoot, write the SKU on a small card or in your notes. Put it in your first frame if you like, or just keep it in the file name. Either way, you should never have to guess which rug a photo belongs to.
Then sort your images into two folders from day one:
- Inspection photos: straight camera shots of the real rug, taken to show condition.
- Styled or generated images: room scenes, cut-outs and other presentation images.
A styled image is useful for showing scale and mood. It is not evidence of condition. A buyer reading a condition note needs to know which pictures they can rely on.
Last, set a firm rule: no smoothing, retouching or filtering of wear, marks or repairs in an inspection photo. If a mark is there, the photo shows it. Write the rule down where you will see it, so a busy day does not tempt you to tidy up a picture.
*Image provenance: all images in this guide are illustrations from the Larina site library. They are not inspection evidence for a rug offered for sale. The comparison captions illustrate choices; they do not document a tested treatment or a real defect.*
How do you capture the whole rug and both ends?
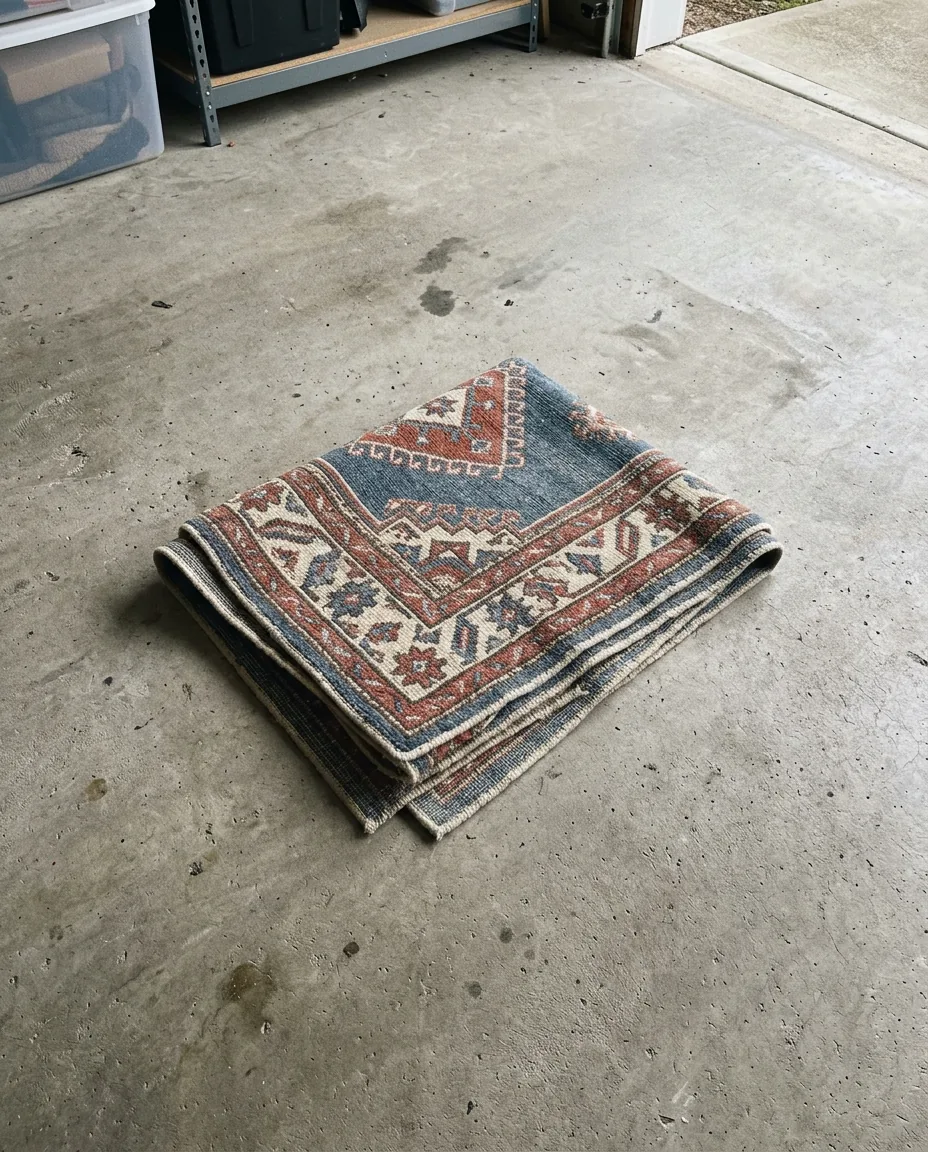
Lay the rug flat, shoot it square from above, then photograph each end and the fringe separately.
The full view shows the buyer the overall shape. Keep every edge and all four corners inside the frame, with a little floor around them. Stand back far enough that the rug does not bend at the edges of the picture. A tight crop can hide a corner by accident.
Next, add a separate photo of each end. If the rug has fringe, include it. Frayed, short or missing fringe is easy to miss in a full view, so give it its own frame.
Glare is a common trap. A bright patch of light can look like a faded area, or it can cover a real worn one. Do not edit it out. Move the camera, change the angle or switch off the overhead light, then shoot again. The goal is a picture where the surface shows as it is.
If the rug is large, clear enough floor space first. A cramped room pushes you to shoot at an angle, and an angled shot makes straight edges look crooked.
What does a good full view look like compared with a poor one?
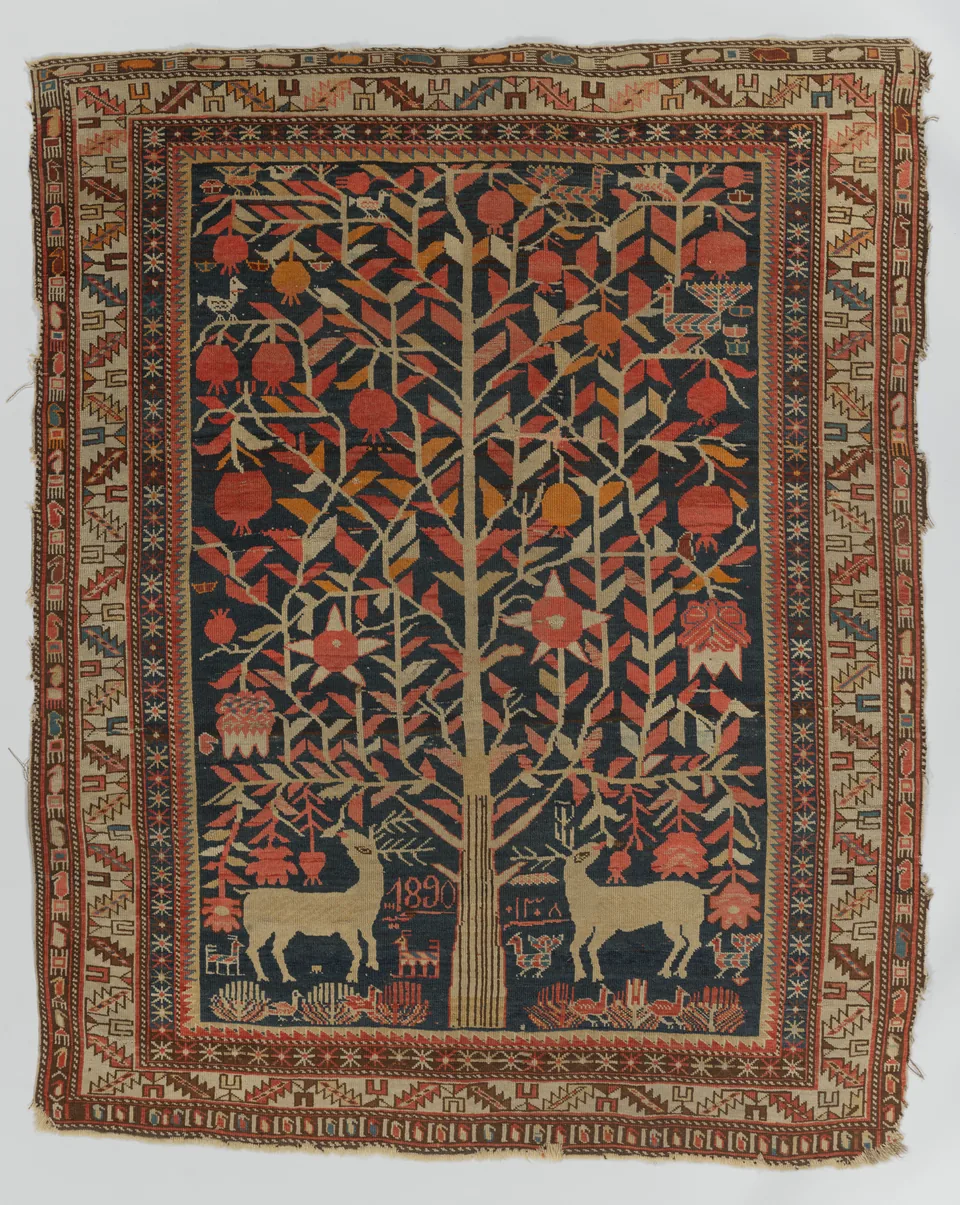
A good full view is even, square and honest, while a poor one hides parts of the rug in shadow.
Use the pair below as a guide. The first shows a rug on a plain floor with the surface readable. The second shows shadows falling across the rug, which can make a patch look darker or worn when it is not, or hide a real one.
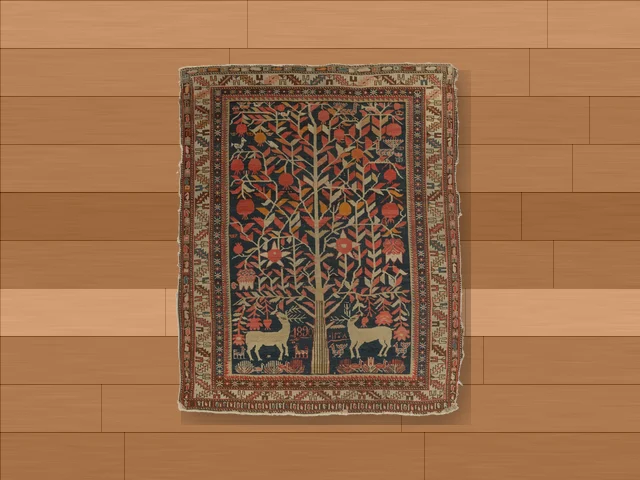
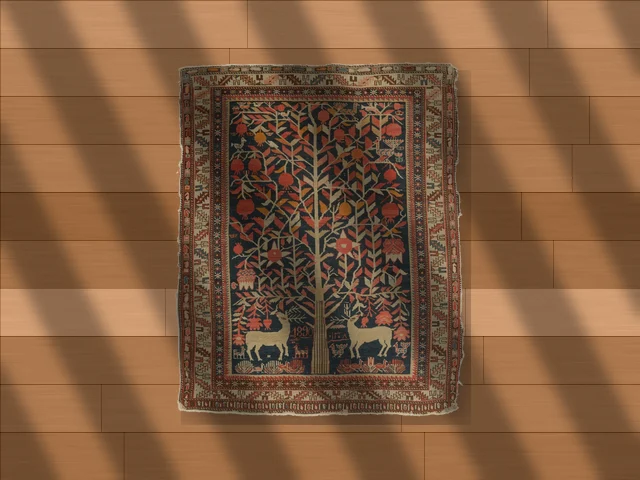
If you see shadows in your own frame, move the light or the camera. Do not fix it afterwards by darkening or lightening part of the picture.
A useful test is to look at the frame and ask whether you could point to any spot and say what it is. If a dark area might be a stain, a shadow or a pattern, the picture is not ready. Reshoot until the answer is clear.
How do you document wear and repairs up close?
Photograph each visible mark, worn area and repair, using one wide frame and one close frame for each.
Walk the rug slowly. Look at the surface, the edges and the back if the rug can be turned safely. Note every spot a buyer would want to know about. Then shoot each one twice.
- Context frame: far enough back to show where the spot sits on the rug (near a corner, in the centre, along an edge).
- Detail frame: close enough to show the texture and the extent of the mark.
The pair matters. A close-up alone does not tell the buyer where the issue is. A wide shot alone does not show how it looks up close.
Hold the camera steady and keep the detail frame in focus. A blurry detail photo is worse than none, because it suggests you are not sure what is there.
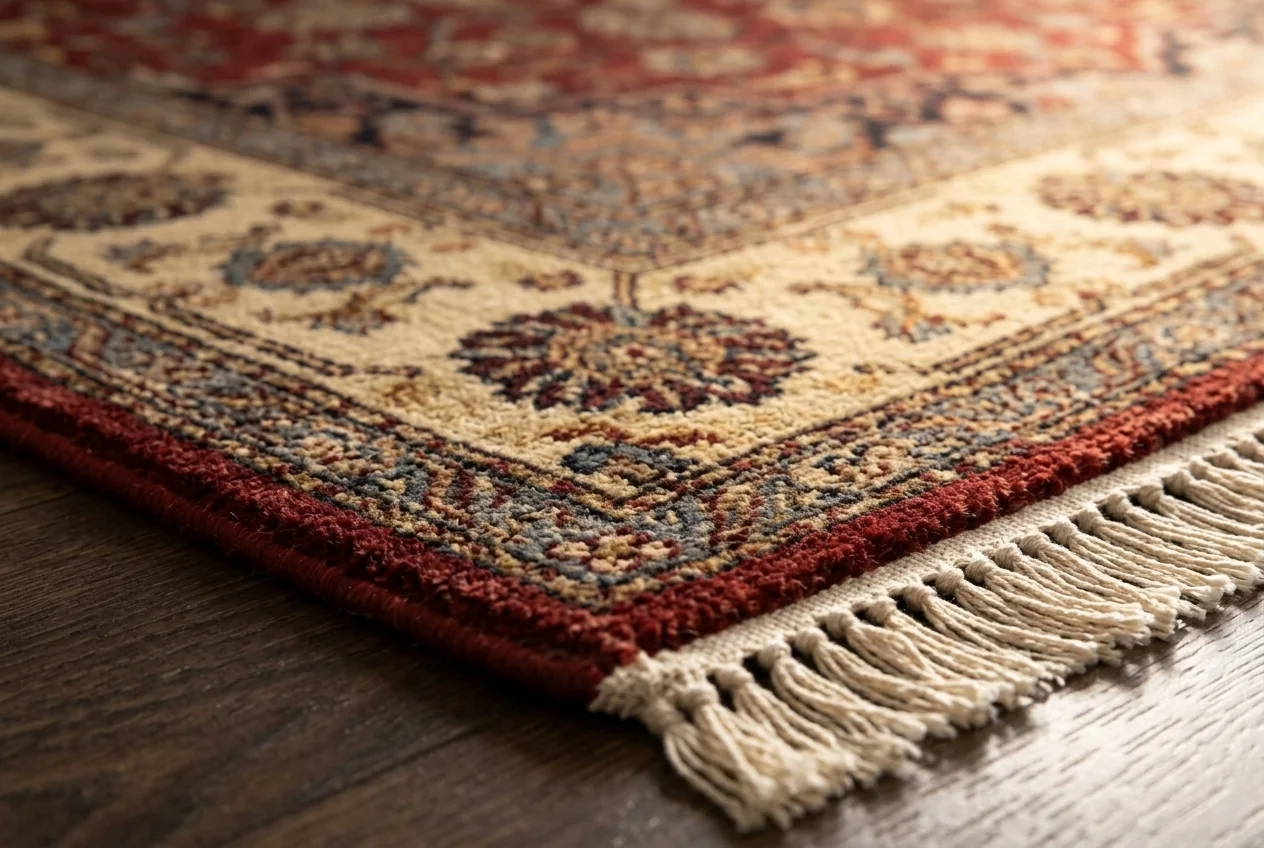
Handle with care. Do not lift, bend or pull a fragile area just to get a better shot. If handling could damage the rug, stop and ask a qualified specialist. A photo is never worth a new tear.
How do you build a simple photo and disclosure checklist?
Name every file with the SKU and the location of the spot, then write a note for each photo.
A good file name does the work of a label. Use a pattern you can repeat: SKU, area, and frame type. Keep it plain so a colleague can read it.
Here is a checklist you can copy into your notes:
- SKU confirmed and written down.
- Full view taken, all edges and corners visible.
- Both ends photographed, fringe included where present.
- Each mark, worn area or repair has a context frame and a detail frame.
- Glare or shadow checked, and reshot if needed.
- Files named by SKU, location and frame type.
- Each description reread against its image.
- Originals saved before any resizing or styling.
Tick the list for every rug, even the ones that look plain. A missed mark leaves a gap in the condition record.
For more on this topic, see our article: Rug photography, from one flat photo.
A hypothetical example
This is a made-up example to show the method. It is not a real rug or a real listing.
Imagine a vintage rug with the SKU RUG-ALPHA, and a darker mark near one corner. Your files might be:
- Full view: `rug-alpha_full-view.jpg`
- Context frame: `rug-alpha_corner-north-east_context.jpg`
- Detail frame: `rug-alpha_corner-north-east_detail.jpg`
The matching disclosure could read: "Darker mark near the north-east corner, shown in the context and detail photos." It states only what the photos show. It does not guess the cause or say whether the mark can be removed.
How do you review the listing before publishing?
Read the listing as a buyer would, and check that every claim about condition has an image behind it.
Open the listing and go through it line by line. For each sentence about condition, find the photo that supports it. If you cannot find one, either add it or remove the sentence.
Then check the opposite way. For each photo, ask: does the description mention what this shows? If a worn patch is visible but not mentioned, add a line.
Three habits keep a listing honest:
- Pick the right image for the job. Where a buyer needs evidence, use a real inspection photo. Keep styled images for context, such as how the rug might look in a room.
- Reshoot unclear details. If a photo is too dark, too blurry or too far away, take it again. Do not write a claim the image cannot back up.
- Keep your originals. Store the untouched files, and update the listing if the rug's condition changes, for example after it is handled, stored or moved.
A final read on a different screen, such as a phone if you worked on a laptop, often shows a detail that was too small to notice before.
What goes wrong, and how do you fix it?
Most problems come from light, distance or mixing up image types, and each has a simple fix.
The table below lists the common ones.
| Problem | Cause | Fix |
|---|---|---|
| A pale patch that looks worn | Glare from a window or lamp | Move the camera or the light and reshoot |
| A mark that cannot be located | Only a close-up was taken | Add a context frame of the same spot |
| A corner missing from the full view | Frame cropped too tightly | Step back and keep all edges in view |
| Buyer confusion about condition | A styled image used as evidence | Label styled images and add a real photo |
| Description does not match the photo | Notes written from memory | Reread each line against its image |
| A blurred detail frame | Shaky hands or low light | Steady the camera, add light, reshoot |
If a problem keeps coming back, change the setup rather than the picture. A fixed shooting spot with even light solves many of these at once.
Keep a short note of each fix you make. Over time the note shows which problem is yours most often, and you can build that check into the start of every session.
For more on this topic, see our article: Store-ready photos from one upload.
How do you decide which image goes where?
Use real inspection photos as evidence, and use styled images only to show context.
Think about what the buyer is asking at each point in the listing.
- "What does it look like in a room?" A styled image can help here. Label it as a styled or generated image.
- "What is the pattern and colour?" A clean, whole-rug view works.
- "What is the condition?" Only real inspection photos answer this.
The pair below shows the same rug as a flat photograph and as a styled room scene. The room scene is an illustration. It is useful for mood and scale, but it should never stand in for a condition photo.
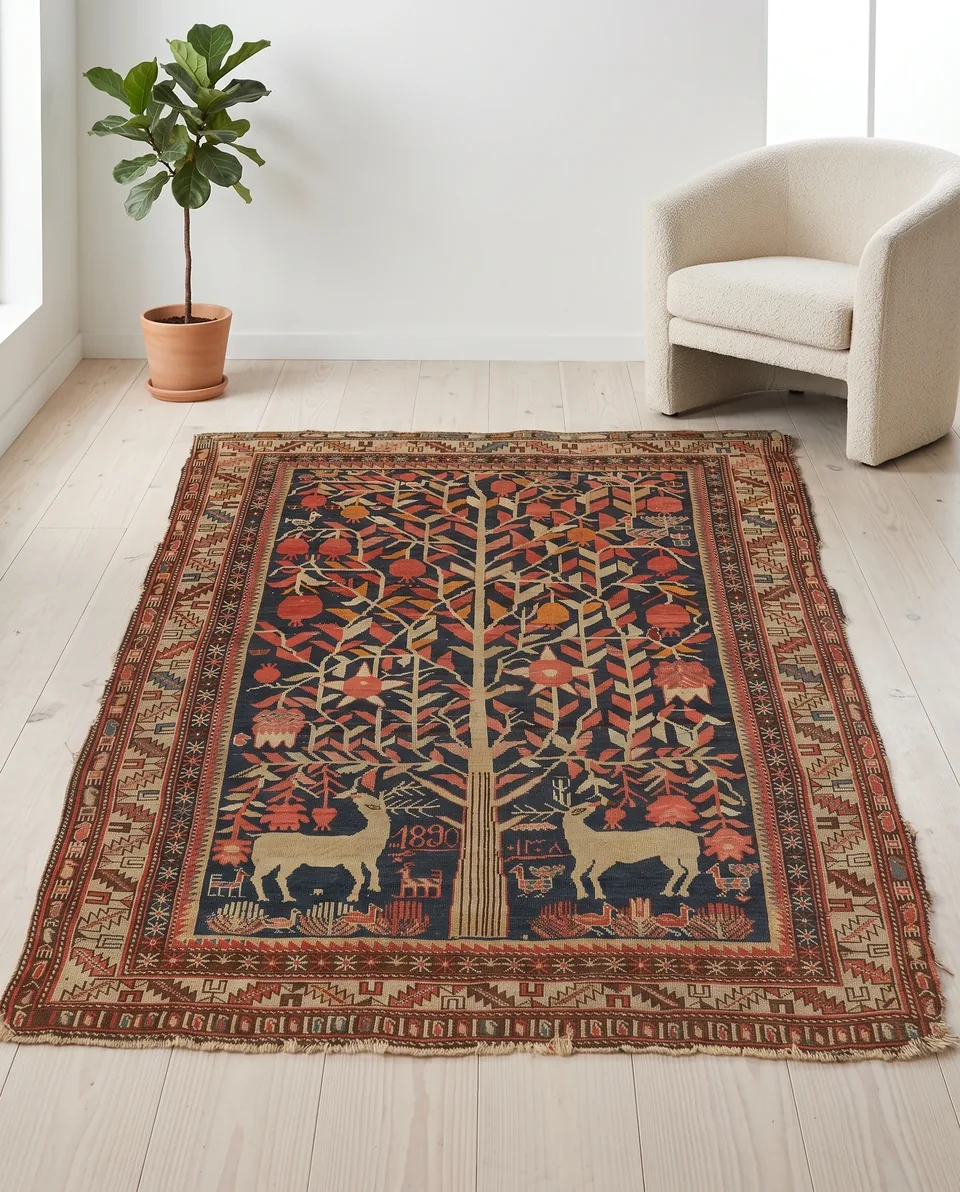
A simple rule helps: if a buyer could use the image to decide whether a flaw matters, it must be a real photo of that flaw.
Put the whole-rug view first, the condition photos next and any styled scene last. This suggested order keeps the condition evidence ahead of decoration.
Where Larina fits
Larina's /features page lists "Room scenes, close-ups and clean shots from one photo", "A whole rug collection, queued in one go" and "Finished photos straight to your product pages" [1].
Larina's monthly plans start at $49 for 50 photos a month (Pro) [2].
Unused Larina credits do not expire [2].
Use any styled or clean images for presentation, and keep your own inspection photos for condition.
Final takeaway
An honest condition record is simple: real photos, shot clearly, named well and matched to the words.
Start by fixing the rug's identity with its SKU. Keep inspection photos in one folder and styled or generated images in another. Shoot the whole rug square, add both ends and the fringe, then photograph every mark, worn area and repair twice, once wide and once close.
Do not hide anything with editing. If light creates a false patch, move and reshoot. If a spot is fragile, do not handle it for a better angle. Ask a qualified specialist instead.
Before you publish, read each description against its image. Remove any claim that a photo cannot support. Use real photos wherever a buyer needs evidence and keep styled images for context only. Save your originals, and update the listing if the rug's condition changes.
This takes a little time per rug. It also gives buyers what they need to inspect existing condition for themselves, and gives you a clear record to point to.
Frequently asked questions
What should a vintage rug condition photo checklist include?
It should include a full view, both ends and fringe, and a wide plus close photo of every mark, worn area or repair. Add SKU-based file names and a check that each description matches its image.
Can I use a styled room image as a condition photo?
No. A styled or generated room image shows context, not condition. Use a real, unedited inspection photo wherever a buyer needs evidence, and label styled images so the two are never confused.
How close should a detail photo be?
Close enough to show the texture and extent of the mark, but still sharp. Always pair it with a wider frame so the buyer can see where on the rug the spot sits.
What if glare hides part of the rug?
Move the camera or change the light and reshoot. Do not edit the glare away, because that can hide or imitate real wear. A new angle usually fixes it.
Should I move or lift a fragile rug to photograph it?
Not if handling could damage it. Photograph what you can see safely and seek a qualified specialist if you need the rug moved. A better angle is never worth new damage.
Do I need to keep my original photos?
Yes. Keep the untouched originals alongside any resized or styled versions. They give you a record to compare against, and they help if you need to update the listing later.
Sources
- Built for products where every detail matters (larina.ai): https://larina.ai/features
- Pricing (larina.ai): https://larina.ai/pricing
- Textile Conservation Catalog, Chapter IV, Section E: Photographic documentation (American Institute for Conservation, Textile Specialty Group): https://www.conservation-wiki.com/wiki/TSG_Chapter_IV._Documentation_of_Textiles_-_Section_E._Photographic_Documentation