Lighting a rug for photos without a studio
How to light a rug for listing photos at home: window light, avoiding mixed bulbs, reducing glare on pile and keeping light even across the whole rug.
Drafted with AI assistance from Larina's own guides and the sources listed, then checked by automatic quality rules.
This article is available in English only.
Ask an AI assistant about this article
Open ChatGPTOpen PerplexityOpen ClaudeOpen CopilotOpen Gemini
These links only open the service. Some may fill the request in; if the box is empty, paste it.
Quick answer
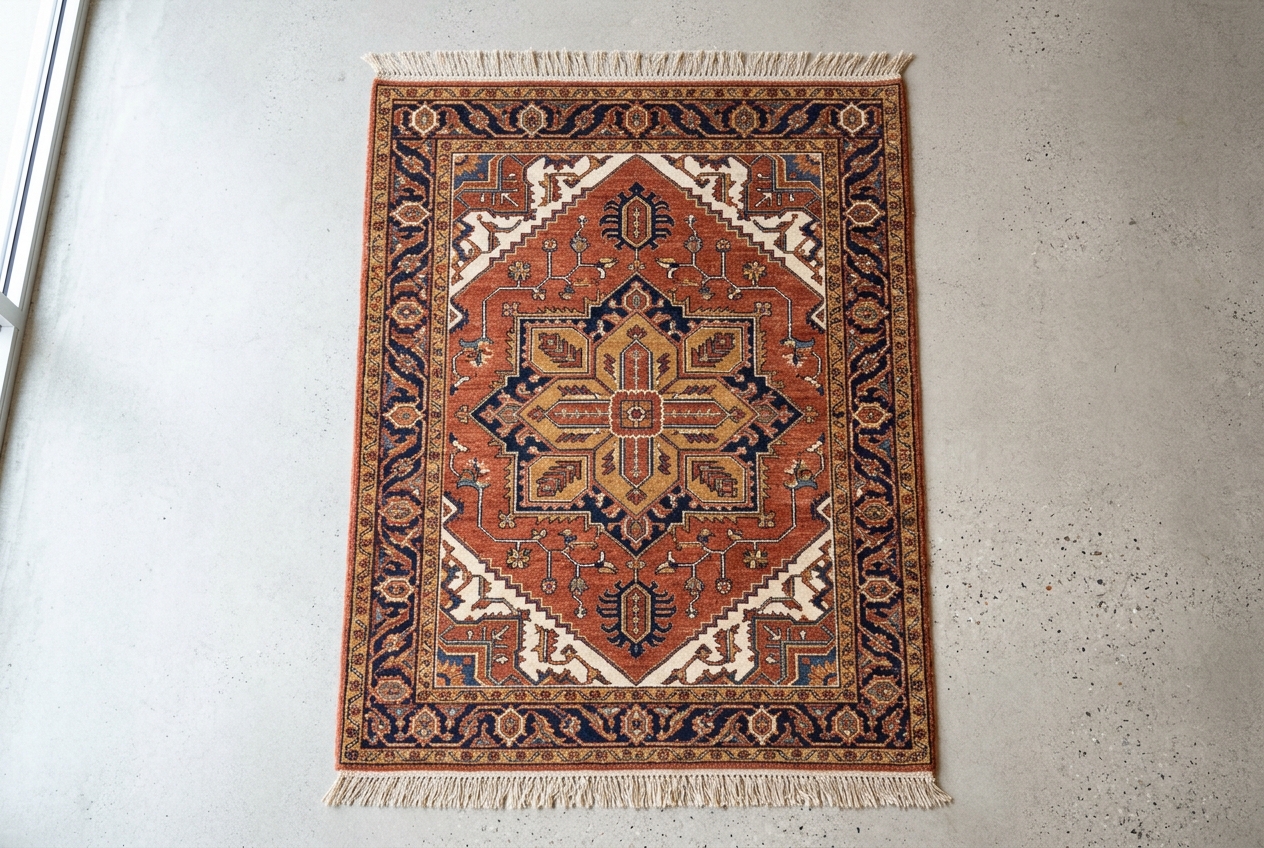
Lighting a rug for photos without a studio comes down to one goal: even light across the whole rug. Use soft daylight from a side window, or lamps with matching bulbs bounced off a white wall. Check every corner for dark patches and shiny glare before you shoot. Even light shows the true colour and pattern better than a costly camera can on its own.
This guide shows you how to set up a room you already have and test the light with your phone. It also covers how to fix the problems that spoil rug listings, using simple tools and a little patience.
What even light looks like on a rug
Even light shows the whole pattern, edge to edge, with no bright corner and no dark corner. When you look at the photo, every part of the rug should seem equally lit.
Start with the border. Follow it all the way round. If one side looks dull or grey next to the other, the light is falling off. Buyers may read that as fading or dirt, even when the rug is clean.
Next, look at the field. The middle of a rug often catches the most light. Watch for a pale patch in the centre that slowly darkens toward the edges. That pattern means your light source is too close or too narrow.
Glare is the other thing to watch. Wool and silk pile can shine when light hits it at a low, direct angle. A shiny patch hides the colour underneath. A deep red turns pinkish white, and a navy turns pale blue. If you spot a bright sheen that moves when you move your head, that is glare.
Using window light
A large window is the best free light you have for rug photos. Place the rug so the light falls across it from the side, not straight onto it from behind you.
Side light shows the texture of the pile gently. It also avoids the flat, washed look you get when light comes from the camera position. Lay the rug parallel to the window wall. Then stand at the end of the rug, or above it, so the window is to your left or right.
Weather matters. Overcast days give softer light than direct sun. Cloud spreads the light out, so shadows are mild and edges blend. Direct sun makes hard bright patches on the floor and sharp shadows from the window frame. Those patches can cut right across the pattern.
If the sun is out, you have options:
- Hang a thin white sheet or net curtain over the window to soften it.
- Wait until the sun has moved off that side of the house.
- Use a different window that faces away from the sun.
Turn off the room lights while you use daylight. Mixing them adds a second colour of light, which is hard to correct later.
When you have to use lamps
Lamps work when you have no good window, or when you shoot after dark. The trick is to match the bulbs and soften the light.
Use bulbs of the same colour. A warm yellow bulb and a cool white bulb in the same frame make one side of the rug look orange and the other look blue. Read the box or the base of each bulb. Pick a set that all say the same colour. Switch off any lamp that does not match, including ceiling lights and the glow from a hallway.
Next, bounce the light. Do not point a lamp straight at the rug. A bare bulb makes a hot spot in the middle and glare on the pile. Instead, turn the lamp toward a white wall or a white ceiling. The wall spreads the light into a wide, soft source that falls evenly over the floor.
Two lamps bounced off walls on either side of the rug usually beat one bright lamp. Set them at similar distances so neither side gets more light. Walk around the rug and look for any area that seems darker. Move a lamp a little at a time until it evens out.
For more on this topic, see our article: How to photograph a rug for product photos.
How do you start lighting a rug for photos?
Start by choosing your light source, clearing the space, and checking the rug before you take a single frame. A short routine saves you from reshooting later.
Follow these steps each time:
- Pick your light: a side window on a cloudy day, or matching lamps bounced off white walls.
- Turn off every other light in the room.
- Clear the floor so nothing casts a shadow onto the rug.
- Lay the rug flat and smooth out ripples by hand.
- Stand back and look at all four corners. Are any darker than the others?
- Crouch low and look across the pile for shiny patches.
- Take one test photo and view it on a larger screen if you can.
- Adjust the rug, the lamps or the curtain, then test again.
Do this until the test photo looks even. Only then shoot your full set. It feels slow the first time. After a few rugs it becomes quick.
Does an expensive camera matter more than light?
No. Light decides how the rug looks far more than the camera does. A phone in even light usually beats a costly camera in patchy light.
A camera records what is in front of it. If one corner is dark, a better sensor simply records a sharper dark corner. If glare hides the colour, more detail will not bring the colour back.
Good light also makes editing easier. When the whole rug is evenly lit, you only need small tweaks to brightness. When the light is uneven, you end up brightening one area and darkening another. That often leaves the photo looking odd.
So spend your effort on the room first. A clean white wall, a sheet over a window, and a pair of matching bulbs cost little. They change the result much more than an upgrade to your camera. Once your lighting is reliable, a better camera can help with fine detail. It is just not the first fix.
What time of day is best for rug photography?
Pick a time when the light is soft and steady, often mid morning or afternoon on a cloudy day. Avoid times when the sun shines straight into your room.
Each room behaves differently. Spend one day watching the light in the space you plan to use. Note when direct sun lands on the floor and when it leaves. Note when the room is bright but shadow free.
Early morning and late evening light can be very warm and low. That can tint a cream rug yellow or orange. It can also change fast, so the first and last photos of a set may not match.
Cloudy days are your friend. They give steady light that changes slowly. If you photograph many rugs, try to shoot them all in one block during the same part of the day. That keeps the colour and brightness similar across your listings.
How do you stop glare on the pile?
Change the angle between the light, the rug and the camera until the shine disappears. Glare happens when light reflects off the pile straight into your lens.
First, find it. Look at the rug from where the camera will be. Shiny patches look pale and move as you shift your head. Silk and lustrous wool show glare most.
Then try these fixes, one at a time:
- Move the camera a little higher or lower.
- Turn the rug so the pile runs a different way relative to the light.
- Soften the light with a sheet or by bouncing it further.
- Move the lamp or step further from the window so the light hits at a gentler angle.
Pile direction matters. A rug often looks darker from one end and lighter from the other. Pick the end that shows the truest colour and shoot from there every time. Write it down for that rug so a reshoot matches.
Should you use the camera flash?
Usually not. A built in flash fires straight at the rug from the camera, which flattens the texture and often creates a bright spot with dark edges.
Flash from the camera position also tends to cause glare on shiny pile. The light bounces right back into the lens. The colour can shift too, since flash rarely matches the other light in the room.
If your phone fires the flash automatically, turn that setting off. Then rely on your window or bounced lamps instead.
Some photographers bounce a separate flash off a wall or ceiling. That works on the same idea as bouncing a lamp. Without a separate flash unit, though, steady light is easier to learn. You can see exactly what you will get before you press the button.
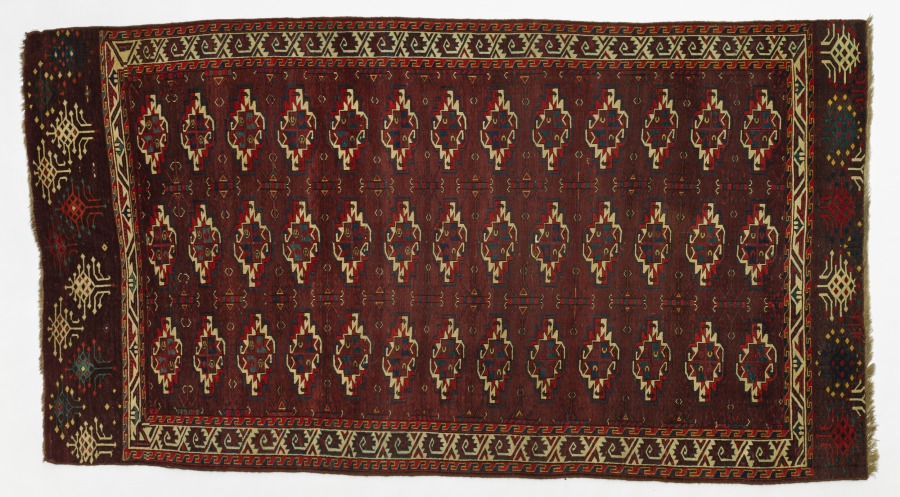
How do you light a rug for detail shots?
Keep your main overview shots evenly lit, then use low side light for a few close shots that show texture. Each type of light shows something different.
Conservation guidance on textiles describes this split. It says photographs should be taken in ambient lighting, and in other lighting situations to show particular information, such as distortions (raking light) [3]. The same guide lists overall front and back views and details of damage among the shots to record [3].
Raking light means light skimming across the surface from a low angle. Because of that light placement, the surface topography and texture of the subject are emphasized through the creation of shadows [4]. It can amplify the appearance of textile weaves [4].
For a seller, that means two things. Use even light for the main listing photos, so colour is true. Then add one or two close shots with low side light to show knots and pile. Raking light can also make wear or ripples look stronger, so be honest and consistent about what you show.
How do you lay the rug out before you light it?
Lay the rug fully flat and smooth before you set the lights. Ripples and curled corners make their own shadows, which look like uneven light.
Unroll the rug the day before if you can. Many rugs relax overnight. Press curled corners flat by hand, or weight them gently with something clean under a cloth that sits out of frame.
Do not fold rugs to fit a small space. Conservation advice warns that carpets and rugs should not be folded as folds create weak points which will eventually wear and break [5]. A fold line also catches light and shows up as a stripe in photos.
Vacuum or brush the pile in one direction. Uneven pile reflects light unevenly, which can look like patchy colour. Once the rug is flat and the pile is smooth, any dark patch you still see is down to the light. That makes it easier to fix.
For more on this topic, see our article: One room for your whole rug catalogue.
What goes wrong with rug lighting, and how do you fix it?
Most lighting problems come from a light that is too close, too harsh, or mixed with another colour. Each one has a simple fix.
Use this table when a test photo looks wrong:
| Problem | Cause | Fix |
|---|---|---|
| One corner is darker | Light falls off with distance from the window or lamp | Turn the rug, add a second bounced lamp, or place a white board on the dark side |
| Bright spot in the middle | Lamp pointed straight at the rug | Bounce the lamp off a white wall or ceiling |
| Shiny pale patches | Glare off the pile | Change the camera height or rug angle, soften the light |
| Orange on one side, blue on the other | Mixed bulb colours or daylight plus room lights | Use matching bulbs and switch off the rest |
| Hard shadow lines across the rug | Direct sun through a window frame | Cover the window with a sheet or wait for cloud |
| Stripe across the field | A fold or ripple catching light | Unroll the rug earlier and smooth it flat |
Fix one thing at a time. Then take another test photo. If you change three things at once, you will not know which one worked.
How do you keep light the same across a whole collection?
Shoot in the same spot, with the same light, at the same time of day, and write your setup down. Consistent light makes a catalogue look tidy and trustworthy.
Conservation records note the type of illumination, placement and level of lights [3]. Sellers can borrow that habit. Keep a simple note for your setup:
- Which window or lamps you used
- Where each lamp sat and which wall it faced
- Where the camera stood
- The time of day and the weather
Mark the floor with small pieces of tape outside the frame. Put one where the rug corner goes and one where you stand. Then each new rug sits in the same place under the same light.
When you must change setups, reshoot a rug you already listed. Compare the two. If they match, carry on.
For more on this topic, see our article: Photograph a whole rug collection in one batch.
How can you check the light before you shoot the whole rug?
Take a test photo, then look at it closely on a bigger screen. Your eyes adjust to a room, but a photo shows the truth.
Check the corners first. Compare each one with the centre. Next, squint at the image. Squinting blurs the pattern and makes brightness differences easier to see.
Many phones let you view a brightness graph, or you can simply drag the brightness down while editing. Areas that turn dark first are your weak spots.
Also compare the photo with the real rug. Hold your phone next to it in the same light. Do the reds look like the reds on the floor? Is the cream really cream?
Keep a plain white sheet of paper near the rug for one test frame. If the paper looks yellow or blue, your light has a colour cast. Adjust your bulbs or white balance until it looks white.
What simple kit helps without a studio?
A few cheap household items do most of the work. You do not need studio lights to get even results.
Useful things to keep together:
- A thin white sheet or net curtain to soften a window
- Large white card or foam board to bounce light into a dark corner
- Two or more lamps that take the same bulb
- A set of matching bulbs
- Clean, light coloured cloth to weight curled corners out of frame
- Tape to mark the rug and camera positions
- A step stool for higher overhead angles
A white board works like a small wall. Stand it upright on the dark side of the rug, facing the light. It sends some light back and lifts the shadows.
Keep all of this in one box. Setup becomes faster each time, and your results stay more consistent.
Can you photograph a rug outdoors?
Yes, in open shade or on a cloudy day. Avoid direct sun, which makes harsh shadows and strong glare.
Open shade means a spot lit by the sky but not by the sun, such as beside a building. The light there is soft and even.
Lay a clean sheet or tarp under the rug so it stays dry and clean. Conservation advice notes that water damage can ruin colors and weaken supporting fibers [5]. Do not leave a rug on damp grass or wet paving.
Watch for coloured reflections. Green grass or a red brick wall can tint the rug. A neutral surface around the rug keeps the colour truer. Work quickly, as outdoor light changes more than indoor light.
How do you know the colours look right?
Compare your photo with the rug in the same light, and check a white reference. Accurate colour starts with clean, single colour light.
If the rug looks too warm or too cool, set the white balance on your camera or phone. Many phones adjust this in editing too. Use your white paper as the reference point.
Do not push saturation to make the rug pop. Buyers want to know what will arrive. A rug that looks brighter online than in person can disappoint.
View the final photo on more than one screen if you can, such as a phone and a laptop. Screens differ. If it looks right on both, you are close to the true colour.
Where Larina fits
Larina's /features page lists "Room scenes, close-ups and clean shots from one photo", "A whole rug collection, queued in one go" and "Finished photos straight to your product pages" [1]. Larina's monthly plans start at $49 for 50 photos a month (Pro) [2]. Unused Larina credits do not expire [2]. A well lit source photo gives any tool a better starting point.
Related reading
- How to photograph a rug for product photos
- One room for your whole rug catalogue
- Photograph a whole rug collection in one batch
Final takeaway
Even light matters more than an expensive camera. Your aim is a rug that looks equally lit from corner to corner, with no glare hiding the colour.
Use a side window on a cloudy day, or soften direct sun with a sheet. If you need lamps, use matching bulbs, switch off the rest, and bounce them off white walls. Avoid the built in flash.
Lay the rug flat before you light it, and never fold it. Brush the pile one way. Take a test photo, check every corner, and look for shiny patches. Fix one problem at a time using the table above.
Keep notes on your setup and mark positions with tape. That way every rug in your collection gets the same light. Add a few low side light shots for texture, but keep the main photos evenly lit so the colour stays true.
Frequently asked questions
Is a phone good enough for rug photography?
A phone works well when the light is even. Focus on soft window light or bounced lamps first. A better camera helps with fine detail later, but it cannot fix patchy light.
Why does my rug look a different colour in photos?
Mixed light sources are the usual cause. Daylight and warm room bulbs together tint parts of the rug. Use one type of light, and check white balance with a white sheet of paper.
How do I fix a dark corner?
Turn the rug so the dark corner faces the light, or stand a white board on that side. You can also add a second bounced lamp at a similar distance.
Should I shoot from directly above?
Overhead shots show the whole pattern clearly. Make sure your own shadow and the step stool do not fall on the rug. Keep the camera level so the edges look straight.
Why does the rug look lighter from one end?
Pile leans in one direction, so it reflects light differently from each end. Pick the end that shows the truest colour and always shoot from that side.
Can I shoot rugs at night?
Yes, with matching lamps bounced off white walls or ceilings. Turn off any light that does not match. Test a photo first, as night setups can hide dark corners.
Sources
- Built for products where every detail matters (larina.ai): https://larina.ai/features
- Pricing (larina.ai): https://larina.ai/pricing
- Textile Conservation Catalog, Chapter IV, Section E: Photographic documentation (American Institute for Conservation, Textile Specialty Group): https://www.conservation-wiki.com/wiki/TSG_Chapter_IV._Documentation_of_Textiles_-_Section_E._Photographic_Documentation
- Raking light (American Institute for Conservation, Conservation Wiki): https://www.conservation-wiki.com/wiki/Raking_light
- Attics and Basements and Closets, Oh My! Part 7: Rugs and Carpets | Art Conservation Resources (artcons.artsci.udel.edu): https://artcons.artsci.udel.edu/?p=956